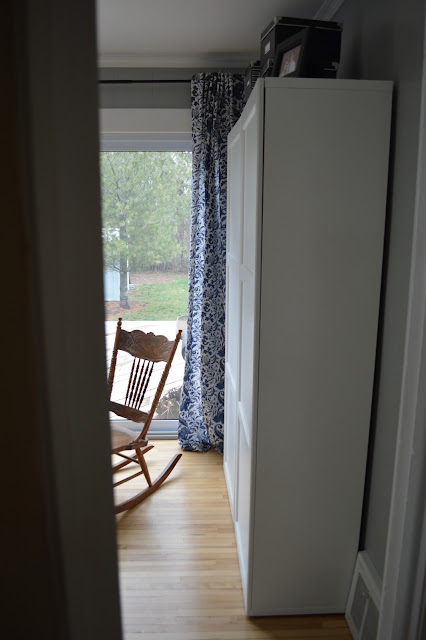
Here's where we left the office...
Can I preface this update? To say it's by no means dramatic, just a small tweak.
More of a softening update to brighten this space, and bring class to that large sliding glass door to the deck.
And since we'll be using the deck so soon, it was time to dress up the entrance.
So here's this small update.
I shortened the floral curtains so they just skim the hardwood, and I added the sheer curtains that I altered slightly.
I'm delighted to say that the cost of this project was a big goose egg: $0. Zero dollars.
Yes, my dutch handyman is so proud.
So first, I started with the original curtains that sat awkwardly on the floor.
I pinned up each curtain and decided that 6 1/2 inches could go from the bottom.
And so I cut off 5 1/2 inches... leaving 1 inch for the hem.
I decided to forgo the sewing machine, and cut corners with left over Heat N Bond I had purchased from Walmart over a year ago.
One of the greatest tips when working with Heat N Bond is to pre-iron your hem. I also folded over a small edge of the fabric to create a smooth line.
Then, I used my Heat N Bond and made my way slowly across with the iron, which I set to the "silk setting."
This project was so easy and quick, like Swiss Chalet service, that I felt inspired to sew these sheer "Matilda" curtains from Ikea... that I've been thinking about doing for way to long.
First, I removed the small pieces of fabric meant to hook on to the curtain rod... they just didn't match the other curtains.
Then I folded over the fabric to create a 3 inch hem.
Using my Kenmore machine, I sewed my new hem with white thread.
(Here are a few of my tools that were so helpful for this project.)
All in all I'm quite pleased with how the curtains skim the floor, and softly frame the sliding glass.
The sliding door isn't centered on the wall, so it also tricks the eye to think it's centered.
Window coverings aren't my forte.
I struggle with what what looks great in terms of pattern, length and style... to the point where there are several windows in my home that still require privacy.
I'm hoping this project is a small boost to my window-covering-ego...
Ps. My handyman and I had our final home study with Children's Aid Society. We're jumping for joy over here! Update you soon... yes.


I found this is an informative and interesting post so i think so it is very useful and knowledgeable.
ReplyDeleteI'm so glad.. :)
Delete